* * *
ThinkGeek.com, where from today through June 6 2014, everything on the site is 20% off and shipping is free on all orders over $25 – no special coupon codes required! Advertisers make it possible for Digital Media Mom to bring you great content each day for free, so thanks for your support.
* * *
Where’s My Music?
I love using ALL the various functions of my Kindle Fire HDX, and one of them is listening to music. But I’ve noticed this maddening tendency for my Fire NOT to update automatically when I’ve bought new music: I buy some MP3s and they’re added to my Cloud library, I can see them and listen to them on my computer in Amazon’s Cloud Player, but even after repeatedly syncing my Fire tablet (Options menu > Sync All Content), that new song or album refuses to show up in the Cloud tab on my Fire.
The problem is that the Sync All Content thing doesn’t seem to force your Fire to check in with (or “ping”) Amazon’s music servers to see if there’s any new content. Your new music will eventually show up, because that ping will happen within a day or two, but if you don’t want to wait you’re going to have to force your Fire to do the ping thing manually. Luckily, it’s pretty easy.
The following screenshots demonstrate what to do. Note that while these are all from a Kindle Fire HDX, the process is similar on all Fire models: you need to find the Music options menu, which may be located under Settings > Apps or may be a top-level menu item on its own, depending on your specific model. Click or tap on any of the following images to view an enlarged version in a new tab or window.
Begin by ensuring your WiFi connection is active.
Then, open the main Options/Settings menu.
On a second generation Fire, you do this by swiping downward from the top of the screen on the main carousel/Home screen.
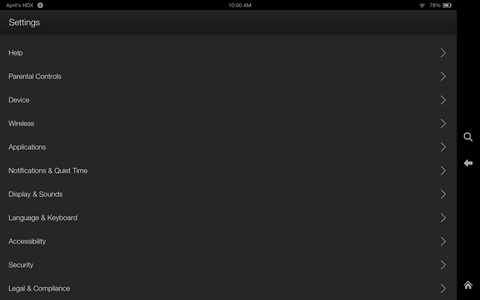
On the main Options/Settings menu shown above, tap the Applications menu item to display the Applications menu, shown below.
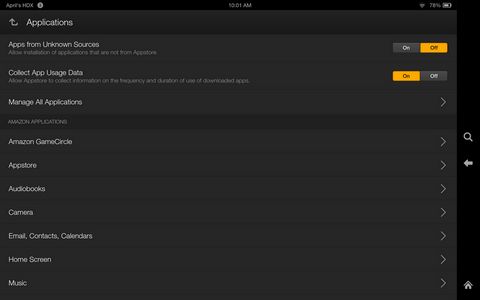
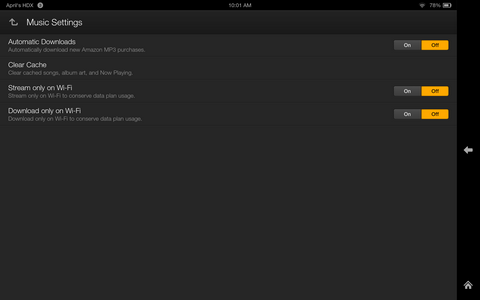
On the Applications menu shown above, tap the Music menu item (bottom of the list shown above) to display the Music menu, shown below.
On the music menu, tap the Clear Cache menu item (second on the list) and confirm when prompted.
Now, your Fire will be forced to communicate with Amazon’s music servers to re-create its lists of your Cloud music. If your music library is very large, this can take several minutes. But when it’s done, the music listed on your Fire’s Music > Cloud tab will be fully up to date.
Got a 3G or 4G Fire? Save Your Data Allowance By Using WiFi Connections Only For Music
Those last two menu items on the Music menu shown above are only there for Fires that have cell connection capability (3G or 4G models), and they can save you a LOT of money if you often listen to music on your Fire and don’t have an unlimited data plan.
Set both of those sliders to “On” to ensure your music can only be streamed or downloaded over a WiFi connection. This ensures you won’t be using your cell connection, and limited data plan allowance, to stream or download music. Note that if you have a 3G or 4G Fire but haven’t signed up for any cell service for it, the WiFi connection will be used by default regardless of how these sliders are set.
* * *
And now……
The ThinkGeek.com 20% Off Sitewide Sale, running now through 6/6/14, makes it easy to find something special for dads and grads at an affordable price, especially since orders over $25 get free shipping during the sale period, too! Here are just a few examples of the great stuff you can find on ThinkGeek (prices quoted are BEFORE the 20% discount is applied):
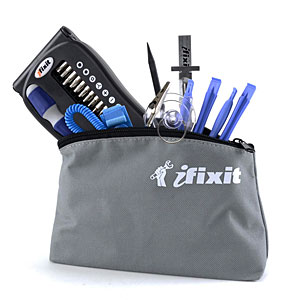
Electronics Essentials Starter Tool Kit, currently $19.99
Practical Duct Tape Projects book, currently on sale for $9.99

Tactical BBQ Gift Pack, currently discounted from $69.97 to $49.99—and that’s before the 20% discount!

* * *