My last post with Kindle Fire tips was such a hit, I figured y’all might like another!
Text To Speech: Amazon Doesn’t Advertise It, But It’s Available On The Fire HD Line
The first-generation Kindle Fire was rolled out without Text To Speech (TTS) functionality, which upset and annoyed the many fans of this feature.
TTS is a feature that originated with the original, monochrome Kindle device. Where the publisher has enabled this feature, TTS reads the Kindle book aloud to you using text-recognition software and a computerized voice. It’s nowhere near as a good a reading as you’ll get with an audiobook narrated by a professional actor or voice actor, but for the sight-impaired it’s a godsend. Many Kindle owners who are not sight-impaired made regular use of TTS as well.
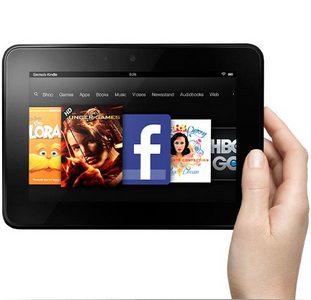
When Amazon unveiled its new, HD line of Kindle Fire devices last year, TTS fans anxiously waited to hear if it would be included on the new devices. Amazon was oddly silent on the matter, which led many to assume TTS was still missing from the Fire. But while poking around on the new HD device to test it, I discovered pretty much by accident that TTS is there on the Kindle Fire HD, though of course, only for books where the publisher has enabled TTS.
To activate TTS, open a TTS-enabled book (its Amazon product page will say if TTS is enabled or not), tap the upper part of the Fire HD’s screen to open the book menu, and select Settings. It’s the square with the differently-sized letter A’s on it. If Text To Speech isn’t on the first Settings page, tap the More link to go to page 2. Once you’ve found the TTS option, tap “On” to turn it on. Then tap anywhere on the book page to close the menu. You will now see an audio control scrollbar at the bottom of your screen. Tap the Play button (right-pointing arrow) to start TTS audio. The Play button will change to a Pause button (two vertical lines); tap it to pause the audio. You can turn off TTS anytime you like back on the Settings screen.
Kindle Fire Charger Options
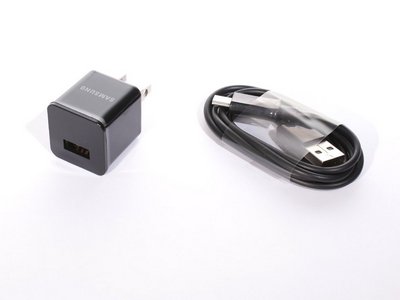
Speaking of Kindle Fire HD devices, if you have one, you’ll remember it did not come with a wall charger. It came with a USB cable you can use to charge the device by connecting it to your computer, but if you’re like me, you never use your computer to charge your devices and would much prefer to just plug it into an outlet like all your other electronics.
There are also plenty of people who have a first-generation Fire, which did come with a wall charger, but they’ve lost or damaged that charger and have been forced into either using the USB charging method, or buying a new charger.
Here’s the thing: whichever boat you’re in, you probably already have a compatible wall charger on hand. The Kindle Fire and Fire HD both use a micro-USB charging cable, which is also a very common charging cable for many other portable electronic devices. Devices like:
- Most Motorola cell phones
- Most Samsung cell phones & media players
- Some AT&T cell phones
- Some LG cell phones
- The Barnes & Noble Nook ereader
- Many netbooks
- First-generation Kindle (the monochrome ones)
If you own any of the above devices, look at their chargers. You may already have a compatible model. Just remember: you want a micro USB charger, not a mini USB charger. The difference is that when you’re looking at the little end of the plug head-on, a micro USB plug has the outline of a simple boat (flat edge on one side, curved on the other) whereas the mini USB plug is basically rectangular, with one side looking like its edges are slightly pinched in, creating a kind of tiny staircase effect. Also, the mini type of plug will not fit in your Fire HD—but don’t try to determine if it’s the right type by jamming it in there, because if it’s the wrong type you can damage both the USB plug and the Fire.
If you don’t find a micro USB charger lying around the house, you can buy one for $10 or less.

Where’s My App?
If you are in the habit of downloading a new app and then immediately wanting to try it out, you’ve discovered that purchased apps don’t immediately, automatically show up on your Fire’s carousel. And you may have resigned yourself to waiting a few hours, or until the next day, for that app to show up. Well, you don’t have to.
While the app won’t be “pushed” to your Fire automatically until the next time it syncs with the Amazon server where a record of your purchase is stored (even doing a manual sync by tapping the ‘sync’ icon on your Fire’s main menu won’t usually bring a newly-purchased app in right after you’ve bought it), you can “pull” it to your Fire instead of waiting.
Go to the Apps tab, tap on the Store link and look up the app. Where people who haven’t already bought it will see a “Buy” button on its product page, you’ll see a “Download” button.
If you’re still seeing the “Buy” button, that means your purchase hasn’t been passed through to update the product page yet, but it should take a minute or less. Tap the Apps link to close the Store page, wait a minute, then tap the Store link again and go back to the app’s product page.